Every so often we are welcomed into a world of delight! This beautiful play day was organised by some homeschooling wonderwomen & shared with me. It’s got craft, dress ups, and role playing – what an adventure!
The schedule for activities is one which I have found generally works, and you can shake up the order as needed, to keep kids attention and make sure they are well fed & happy:
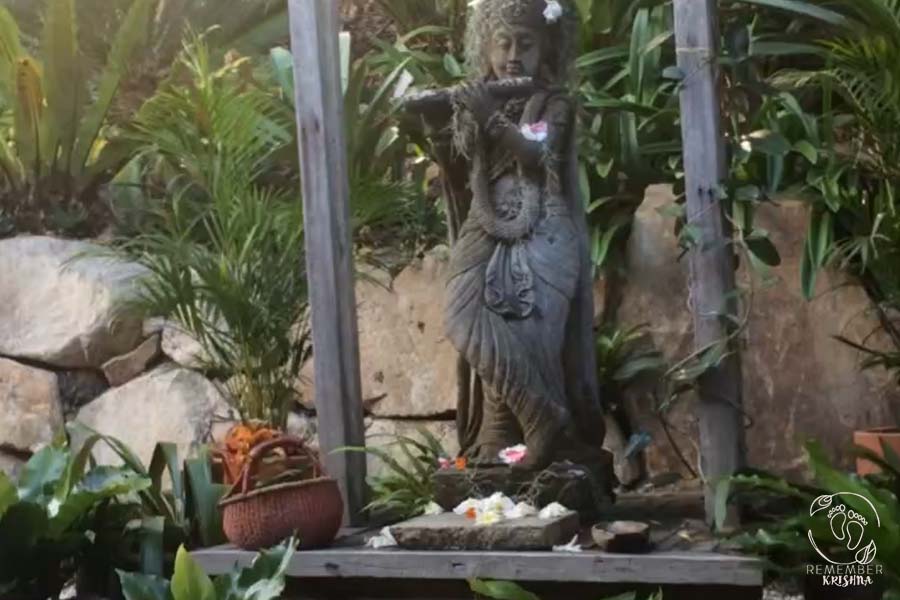
Offering: Have a romp around and play while the guests drift in, and once all are assembled have an offering to Krishna and all chant. It’s very encouraging to round up all the little ones for this, and give them different instruments to shake bash bang or play. Even the youngest can take part if they can shake a tamborine.
offering to Krishna with Love and kirtan
Storytime:After a kirtan, relaxed and fun, tell or read a Krishna story. Kids relate much better to something which is a lively and animated retelling, and enjoy a group story-telling session where the storyteller interacts with them and gets them involved by asking questions. We don’t have a video of this part, but we are working on a collection of Krishna storytelling videos! Stay posted.
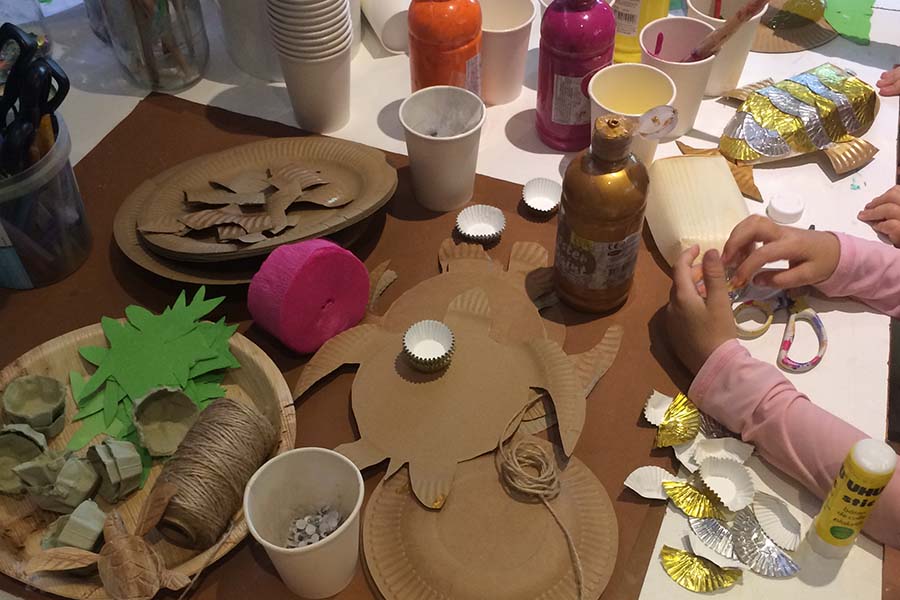
set up activity area ready for bombardment of mini people and their enthusiastic minders.
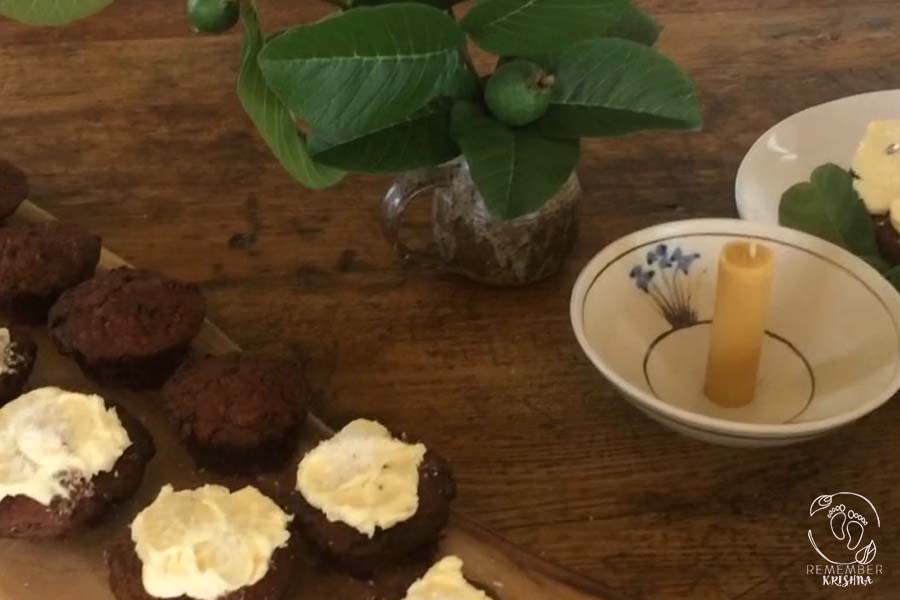
Lunch: While the craft is drying is the ideal time for a lunch break.
Lunchtime with some freshly offered banana muffins prasadam from Lord Krishna
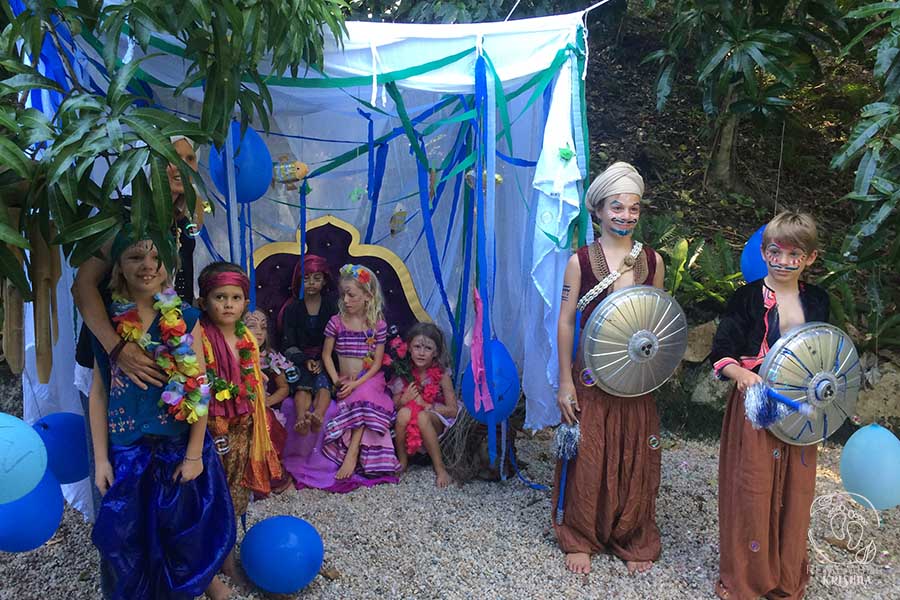
Story re-enactment: Dressing up and decorating themselves and each other the kids have a lot of fun retelling the story they have learnt.
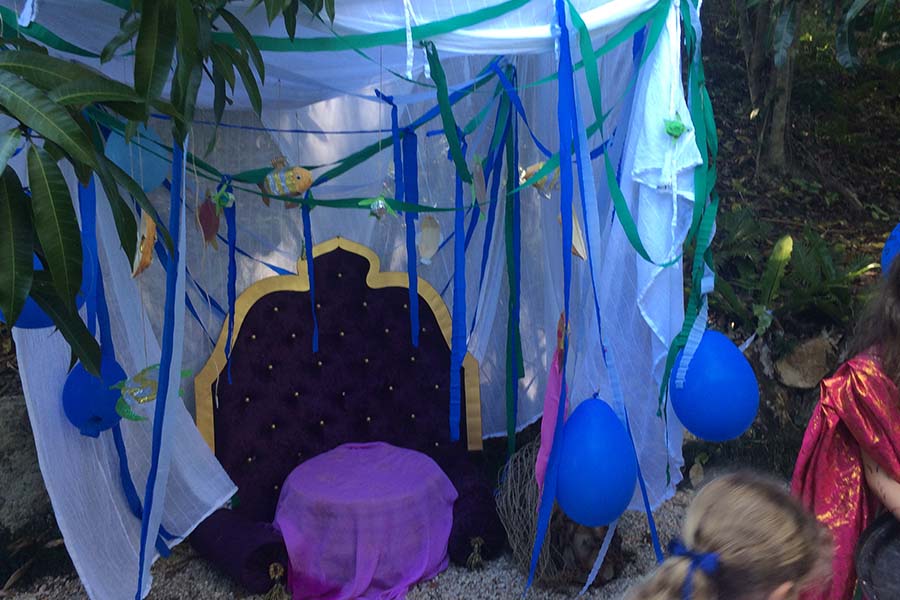
A little stage was set using the fish craft, and a muslin bed canopy suspended from the overhead mango trees. A throne was made for Varuna, and paper streamers and balloons were hung to give the underwater world effect, as well as all the crafted fish the kids had made during the activity section of the Krishna playday. This can work just as nicely inside a house don’t worry!A full cast of actors for our Krishna drama
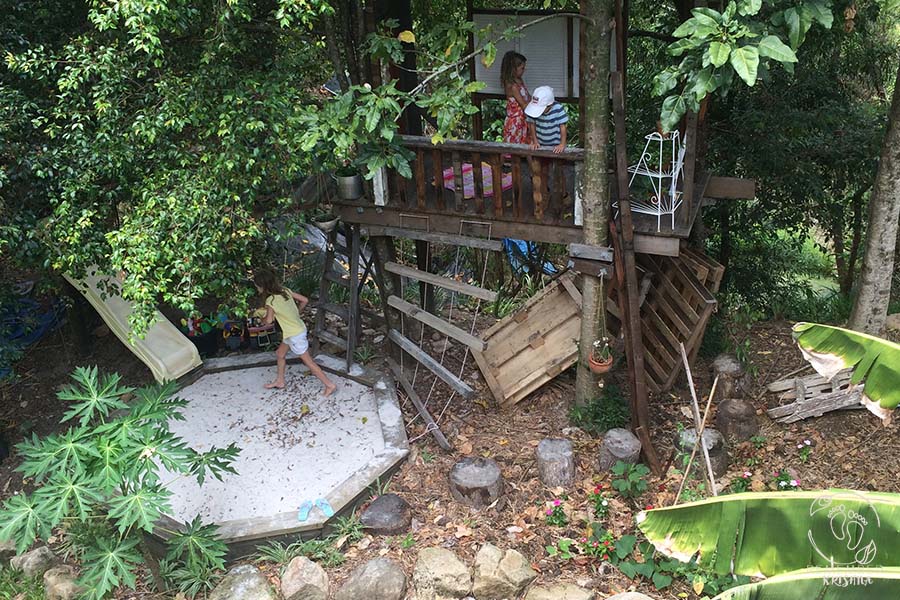
Wild playtime: the culmination of the day time to bond with each other and relax in their environment and free play.
Free play time in the wonderland of the outdoors and a rustic homemade treehouse/ sandpit complete with a wobbly walking bridge
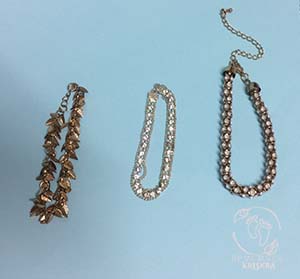
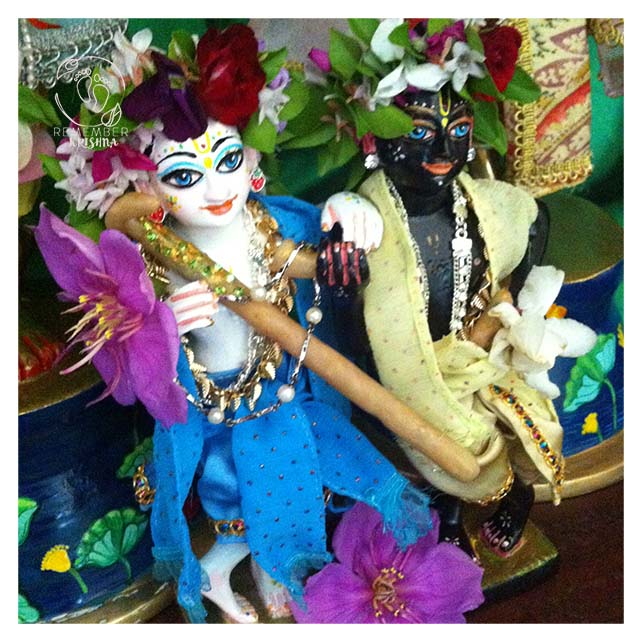
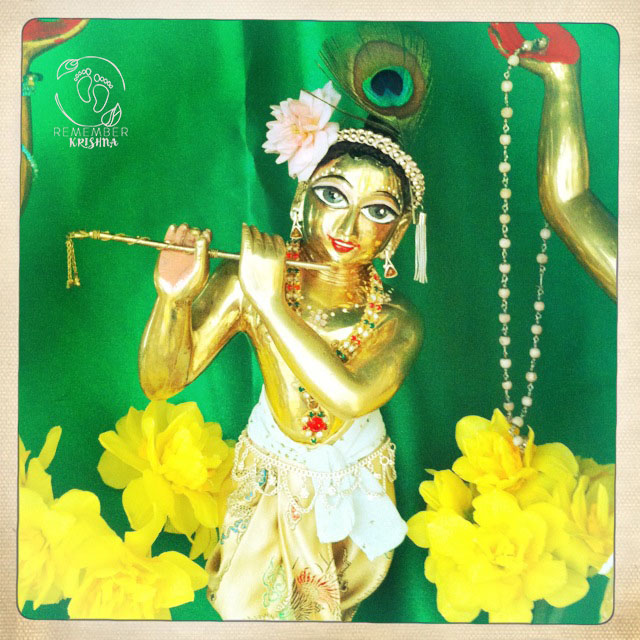
Some jewellery ideas you can buy ready made and use or adapt to ornament your sweet Lords.
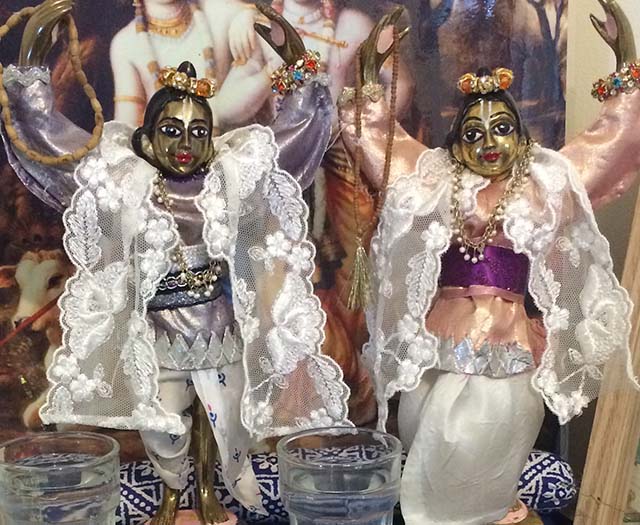
There are lots of differently sized deities, my Lord Chaitanya & Lord Nityananda deities are a glorious 53cm base to tip of arms, and I admit I was eager for this size, after years of making fiddly garments for my parents Gaura Nitai deities, who are only around 20cm.
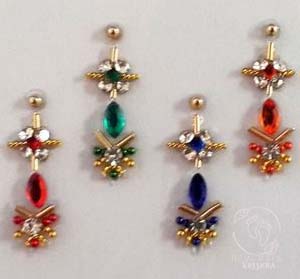
Stick on bindi earrings – if your deities do not have pierced earholes
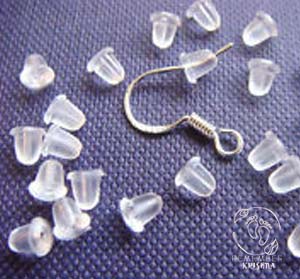
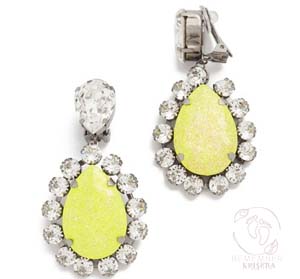
Earrings with the plastic earring holder as the stud back are perfect for your deities
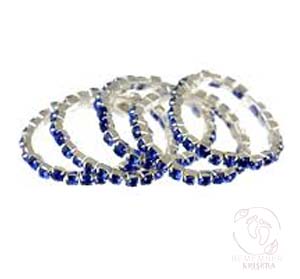
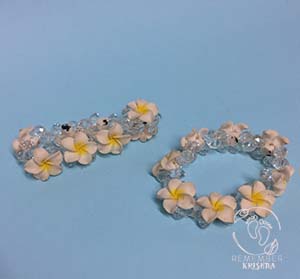
Bracelets as crowns – two types which work, stretchy elastic or soft friendship band style bracelets
Ornamental braid crowns (small DIY required in joining the ends together, can be done with a stitch or two, or even sticky tape!)
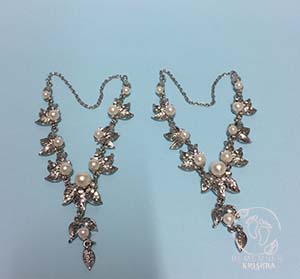
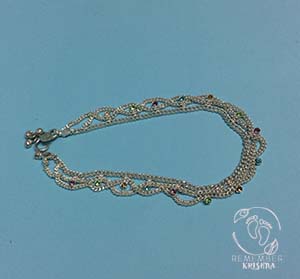
Bracelets & Anklets necklaces – small fine chains work nicely for this, check the kids section
Adjustable Rings as crowns – particularly lovely around a bun, or for Radha deity
Clippon earrings are darling to adorn belts, ends of shawls or fix turbans in place
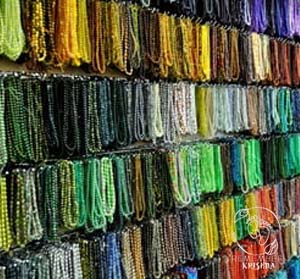
Buy beads by the strand & simply tie the ends of the thread – instant deity necklace
Ribbon can make easy shawls – Lace works particularly nicely & rarely needs hem
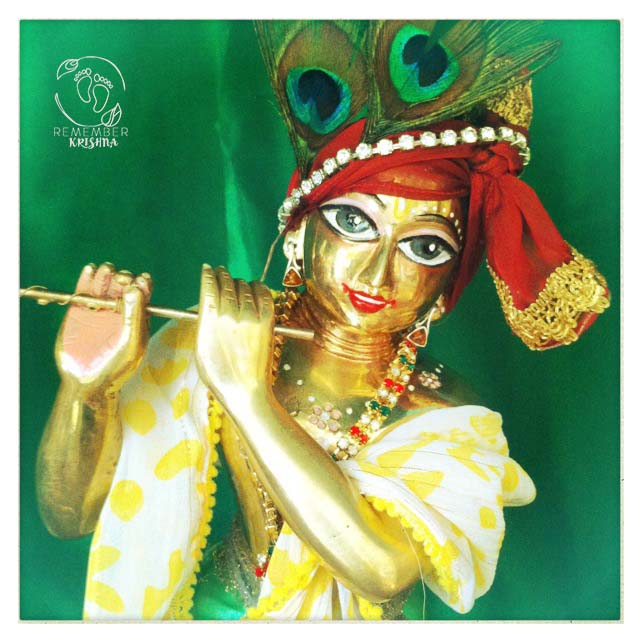
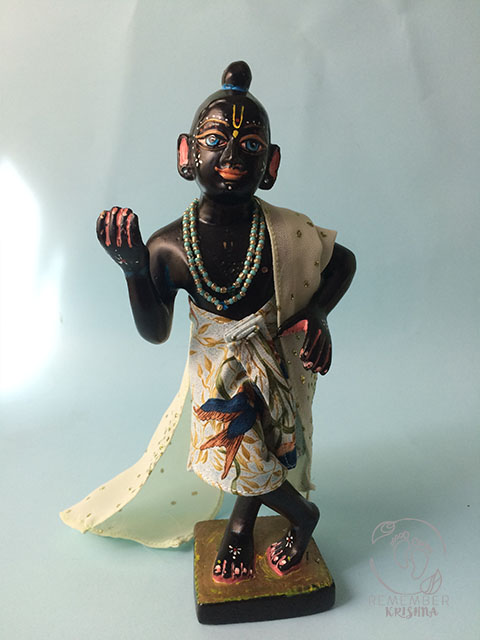
bracelets as necklaces, a selection of our favesNecklaces – fancy ornamental style – you can buy these filigree style necklaces anywhere, perfect for deities necklacesExpandable rings perfect bangles for deitiessoft plastic backs make perfect earring backs for studsAnklebells/ Anklets as necklaces or beltsElastic bracelets as crownsClippon earrings can be used charmingly attached to turbans, headbands or beltsBuy beads by the open strand and tie the ends for an instant necklace our favorite pearl necklaces are a simple pre-threaded strand of tiny pearlsBindi for earrings, rings, jewellery, toe rings are so pretty and easyKrsna wears a soft tied cowherd-boy style bandanna, and using a stretchy bangle to ornament the shawl which is tied with ends out, cowherd boy style. Easy to find these stretchy bracelets at big cheap jewellery places like Lovisa, Dotti, and so on. He wears amber earrings which are secured using the little plastic stud backs which are easy to mold up to the backs of his ears.Smaller 9″ Krishna & Balaram deities wear charming strawberry earrings (childrens section of jewellery store) & little bracelets as necklaces. The gold one Lord Balaram wears is a bracelet, as is the silver diamonte one Krsna wears. The extra pearl and silver one draped over Lord Balaram is another special delicate bracelet. These are my 8yr olds play deities. I try and let her develop her bond with them whilst only gently guiding!Lace Shawls deity DIY, and ring crowns.Krishna’s crown is made from a braided/beaded wristband, with a little tassel attached. He also wears an anklet as a belt. His earrings are amber & his necklace is vintage Indian murti jewellery.
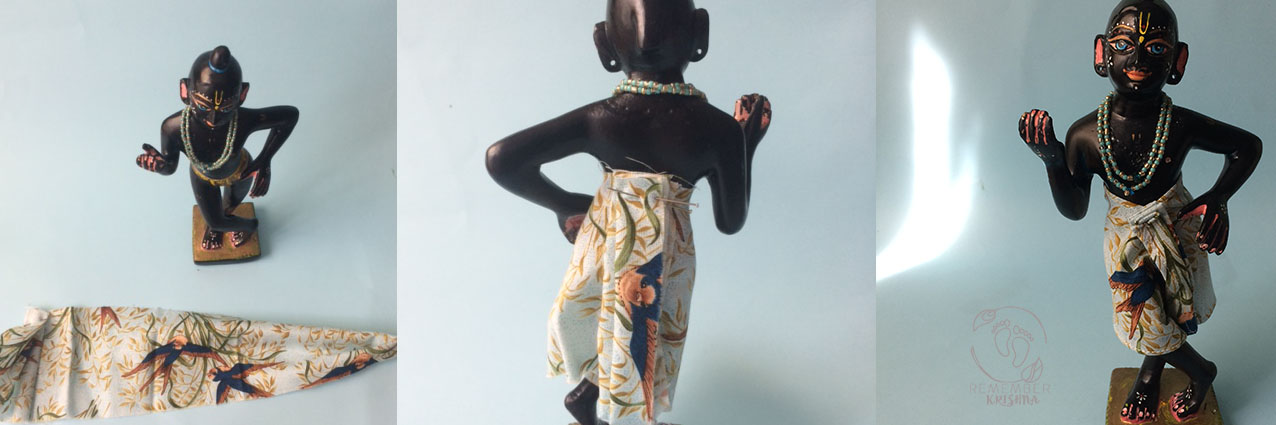
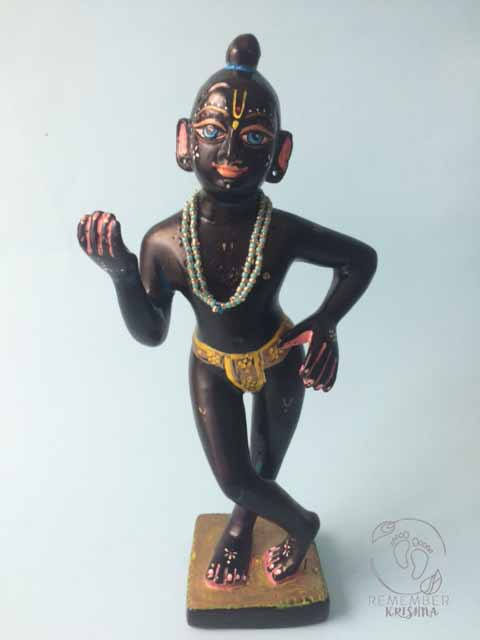
there are lots of different styles of deity garments (of course for different deities too! Krsna & Radha /Krsna Balaram/ Gaur’s Nitai/ Jaganath deities.. this tutorial is for a pleated dhoti which passes between the legs to secure at the back of the waistband. You’ll need to make sure that your deities have enough gap between their legs to pass up the back pleat of the dhoti.
Deity form needs gap between legs to pass up dhoti back pleat
I really hope that this tutorial will assist you in making your own deity garments. It is geared at beginners who have some sewing experience, as I don’t think I’m practical enough to do a tutorial while I teach you to sew! I’m personally fairly disorganized and love to have a pattern to copy, I don’t think I even have my deities measurements written down anywhere because I always have a big overflowing basket of their laundry I can just pull a sample garment from, and I have my favorites.
You can watch a few more DIY tips if you want some ideas about the various methods I use to create this simple dhoti pattern. View here.
There’s so many styles and they all give such a different vibe! People have preferences for different lengths/ fabrics/ you name it! Right now I love lots of summery bright colors, simple braids, and abundant fresh flowers. In summer time I have some nice just below the knee length dhoti for my Nitai Gaur deities, but they also have some longer just above the ankle length dhotis.
Making garments for your deities is such an adventure. Most of the early sets I made for my deities prior to installation I no longer dress them in – lately their garments are uber-simple, sometimes even without braid, simple, cool, and so comfortable to wear. Always, always easy to dance in!
Remember you are making these clothes for their pleasure, so even your humble attempts, if not perfect, will be a nice start.
Offer your Lords a mirror to enjoy their own beautiful reflection after you have dressed them 🙂
Before you start:
Measure! You’ll need to measure you deities waist or hip (where you want the dhoti to sit) . Measure the hip to ankle – choose your length at this point. (You can go anywhere from knee length to ankle).
Ok so you have measured, now you can select your fabric
& I’d like to offer some words of wisdom here: I use mostly fine silk (silk charmeuse) or sometimes very nice polyester or cotton fabric. I’ll do another post on fabric types some other time, but for now please try your first dhoti garment in this style using a very light fine fabric so it drapes nicely and is not difficult to sew. For this tutorial I am using a light-weight cotton, such a pretty print!
You might like to make a sample dhoti first, to save special fabric for when you have worked out the perfect sizing. This is a very non-scary way to proceed, especially if you have bought a silk fabric which averages around $20 a metre!
Ready to start:
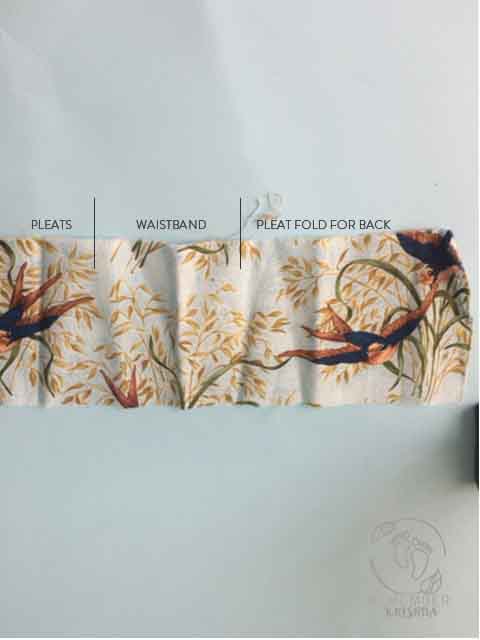
Select suitable fabric, cut with seam allowancepleat a fine set of pleats in the front, to see how much pleat allowance you will have, on top of your waist measurementJudicious use of pins while you work out the appropriate lengthTest on Krsna remove the excess fabric which is not needed to make the pleat at back
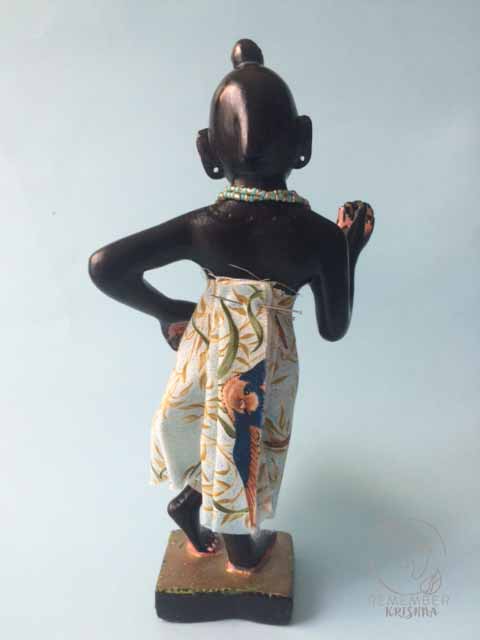
Back pleats will look like this, and will have a press stud attached to secure
Cutting out your pattern – So generally the overall waistband length will be 1.5 x the waist band length. Allow extra pleats in the front and don’t count on them as part of your waist band measurement. This can vary depending on the curviness of your Lord. If you have your deities right in front of you then that is the easiest way to do it. Sometimes you may need to add in a pleat to the back to allow for a curvy hip on Krsna or Nitai Gaura deities.
Hem your basic rectangle. I like to use my miracle foot, the seam it gives is as fine as a hand rolled seam could be.
Add on your braid. You may wish to have braid simply down the front, or around the hem. Consider that if the braid is very think it may interfere with the way the fabric hangs. You can handsew or machine sew the braid dependent on the amount of beadwork on the braid or other factors like time. In general they sit best if hand-stitched but I often sew them on, after accounting for the affect the braid will have on the pleating or the folds of the cloth.
Note where the pleat side is – it shouldn’t be on the crossed leg it should be on the straight leg side.
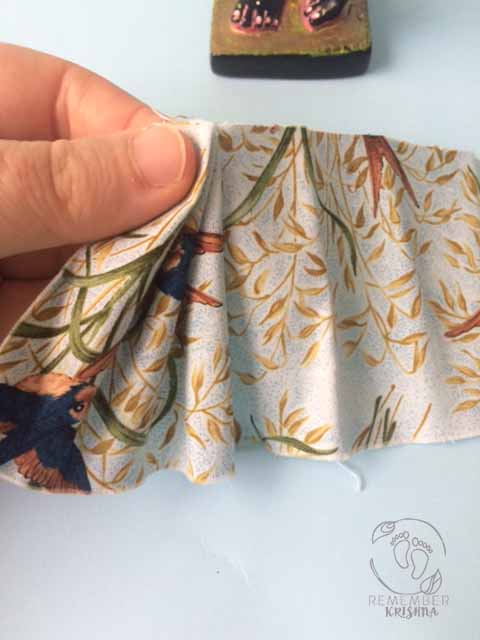
Stitch your pleats down, I like to make them fine and stack them in the front, with three pleats.
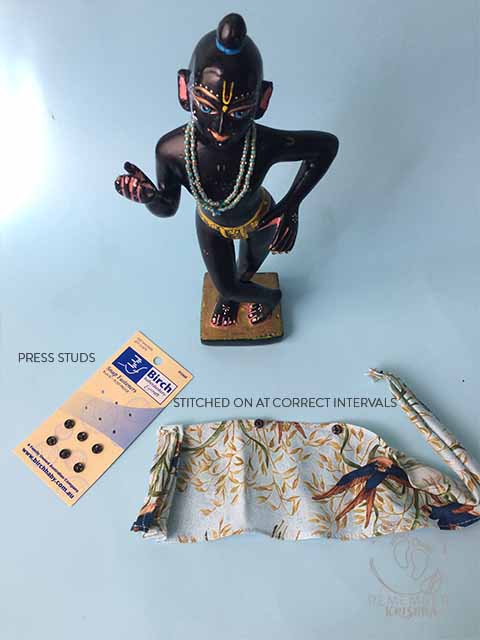
For fastners, you have a choice – you can either use Velcro (it’s SO easy to put them off and on with velcro and also allows for some room, you can adjust the tightness a little bit, but it will pull the silk if you are using silk, and if you aren’t super organised in your deity garment care it can pull other elements like shawls or other dhoti. The other option is to use snap fastners – they sell varying sizes of these, and depending on the weight of your fabric you will chose the appropriate size. They’re very time consuming to stitch down, sometimes it takes me just as long to sew on the snaps as hemming and putting together the whole dhoti! Still, they’re long lasting and they won’t damage any garments.
You’ll need to have fastners at the waistband, and one in the middle of the waistband at the back and on the pleat that passes between the legs and snaps on at the back.
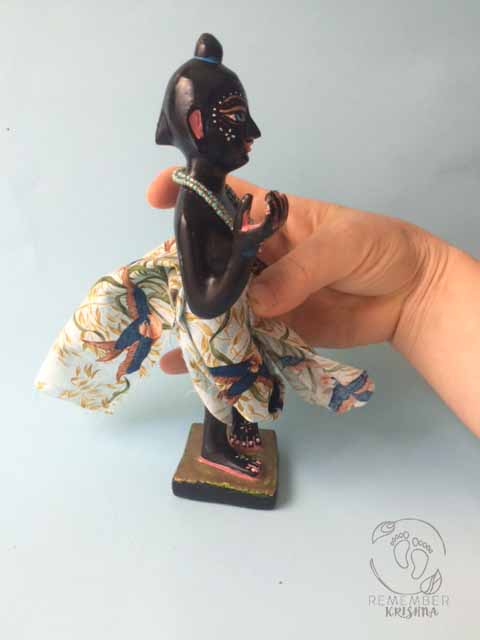
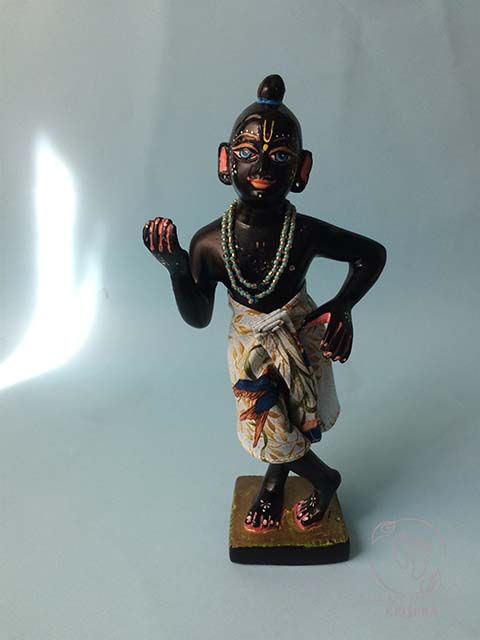
Completed Krsna dhoti! You can tuck the pleats between his legs a little. On the deity, please create the pleat on the leg which will be straight, so that it can tuck tidily between his legs and the other crossed leg has the section which will pass between his legs and up the back to pin at the back.
things to be careful of:
position your press studs in the right spots like don’t get confused on the inside & outside – if you check the end of the video you’ll notice I stitched the button on the back pleat on the wrong side!
Pleats! I can’t over emphasize this – pleat side should be on the straight leg so it can tuck between the bent leg on Krsna. It doesn’t matter so much on deities of Lord Chaitanya & Lord Nityananda, as their standing postures can vary.
keep it easy! Use a rolled foot on the sewing machine to hem.
Beading needles work best for stitching on the press studs
The beautiful message of Jesus Christos of loving God – by whatever name – is always one that warms my heart in this season of celebration.
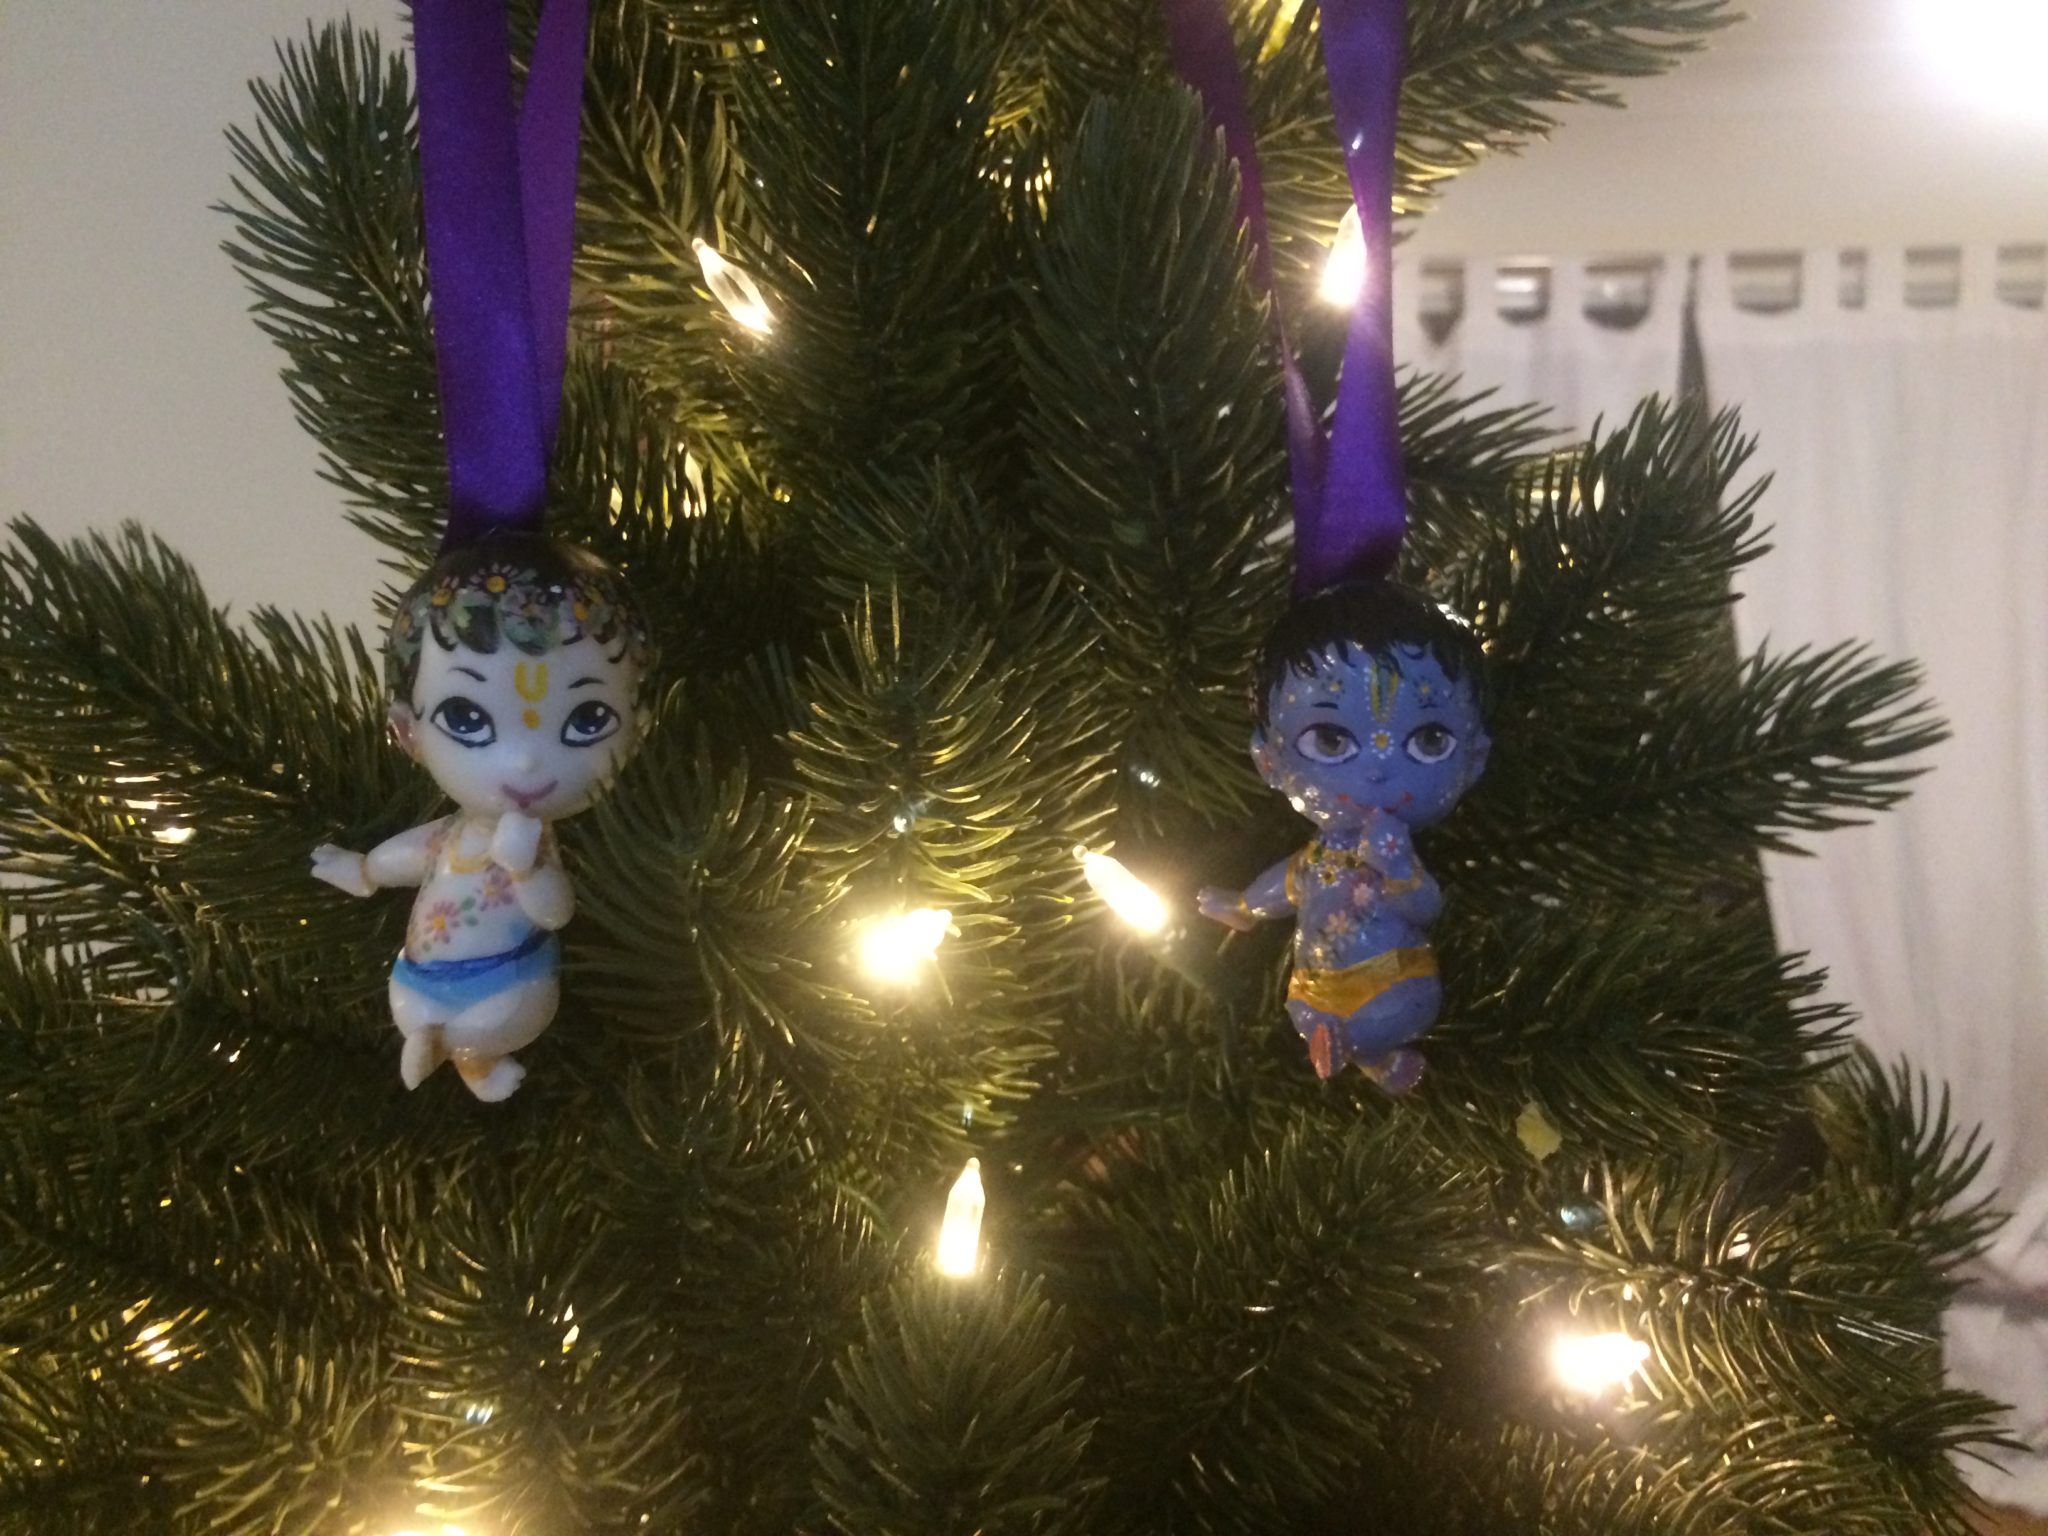
cute tree decorated with Krsna dolls and krsna pictures
For us, Christmas day is always celebrated with a wonderful kirtan with our friends, just like any other special Appearance day celebration, from Janmastami (the celebration of the appearance of Lord Krishna), to Rathayatra festival! Basically every special occasion is an occasion for singing the beautiful names of Krsna, with joyous abandon and love.
We also like to make special decorations for this time of year & O Instagram, what an inspiration you all are! Krishna Christmas trees are pretty much the best, have a look at some of the ones I have seen around the web (yep, I have taken permission from the owners!)
So this Christmas you can create your own Krishna Christmas tree!
Top the tree with a star, an angel, or beautiful Krsna and Balaram – Create handmade ornaments to hang on the tree, and suit your style when you bedeck it with baubles, Krishna pictures, and other cute decorations. Some clever friends have bought our Krishna & Balaram dolls and used them to ornament their tree. Genius!
Here’s a collection of beautiful Christmas tree decorations and ornaments for you to gather inspiration from.