Please read on where I am sharing the most beautiful spiritual wisdom talk shared by my own spiritual teacher, who has given us all this gift of transcendental knowledge.
Take heart; Remembering Krishna makes it possible to have actual life.
When you remember Krishna big mountains seem like very small hills you can easily cross.
When you’re not remembering Krishna even small hills look too hard.
When you remember Krishna you have courage facing difficulties & challenges.
When you forget Krishna even the smallest obstacles seem insurmountable, you experience frustration, anxiety, depression.
When you remember Krishna you experience hope.
We forget Krishna & experience hopelessness.
When we remember Krishna we experience purposefulness.
When we forget Krishna we experience life is without any purpose.
When we remember Krishna we are surcharged with spiritual strength.
When we forget Krishna we become spiritually weak.
When we forget Krishna we are like a blind person, we cant see which way to go or where to aim.
When We remember Krishna we can see very clearly what path to follow.
When We remember Krishna our hearts fill with love, appreciation & gratitude.
When we forget Krishna we have hate, anger, feeling resentful, jealousy.
When we remember Krishna we experience tolerance, patience, forgiveness.
When we forget Krishna forgiveness is beyond our reach. We cannot forgive those who offend us.
Simply by remembering Krishna we have life – with forgetfulness of Krishna we have darkness & death.
We should always remember Krishna, and organise our life so that we always remember Krishna.
Chant japa – japa is the private practice of chanting names of Krishna solitarily.
If we neglect to spend time everyday chanting our japa, if we take lightly this instruction from our Spiritual master and don’t spend time alone with Krishna chanting japa then our remembrance of Krishna is weakened.
Some disciples think they are so busy that they don’t have time. They think that they cannot put aside an hour of the morning to chant the names of Krishna.
This is a big mistake. There is no meaning to ‘service’ without remembrance of Krishna.
If we neglect to follow the our vow of spending time with Krishna then we are undermining or rejecting the relationship with our spiritual master and Krishna.
when we neglect this basic central instruction to chant japa by ourselves with Krishna focused on hearing th enames, the form and pastimes of Krishna then we are neglecting the most wonderful opportunity that has been given by Krishna to come into contact with His representative and receive His holy names.
First make sure to remember Krishna by spending time every day chanting japa. Every opportunity here and there through the day we can do more japa.
Hearing the names of Krishna, putting on a cd of Krishna chanting, listening to the names of Krishna and hearing pastimes of Krishna, the names and forms of Krishna & chanting in congregational kirtan.
Organise your life so you are engaged in Krishna.
We eat and drink throughout the day – we can offer that to Krishna.
Remembering Krishna.
We offer obeisances to our Spiritual Master by thanking him for filling our hearts with transcendental knowledge – the truth of my identity that I am part and parcel of Krishna. He is my dear-most friend.
Remember Krishna means remembering our relationship with Krishna, not philosophically but in tasting love for Krishna, in remembering our loving relationship with Krishna.
Transcendental knowledge and love for Krishna are one and the same.
The realization of transcendental knowledge means loving Krishna.
My dear Krishna, you are the heart of my heart, the life of my life, let me take shelter of you. Just rest your heart and mind in Krishna – this is rememberance of Krishna.
This remembrance of Krishna saves us from the greatest dangers, the darkest night.
In all situations just remember Krishna, this is the solution to all of lifes problems.
Just remember Krishna means love Krishna.
Love Krishna and remember Krishna is one and the same. Please chant the names of Krishna
My notes from a lecture given by Jagad Guru Siddhaswarupananda Paramahamsa Prabhupad a bonafide disciple of a bonafide spirtual master coming in a long line of spiritual teachers, originating from God Himself.
Any errors are due to my own note-taking & poor memory, and I beg you will forgive me for them.
For more nectarian instruction visit www.wisdom.yoga
Follow instagram @scienceofidentity for regular spirtual wisdom love bursts on your insta feed!


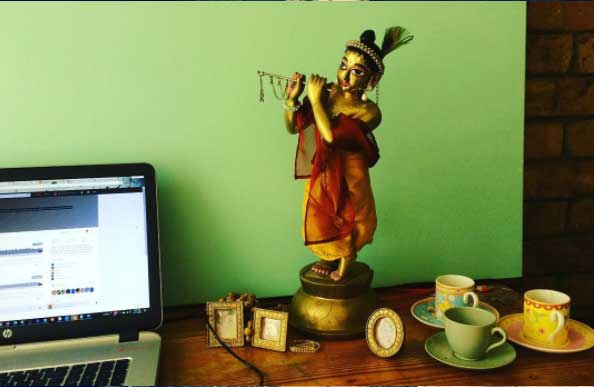

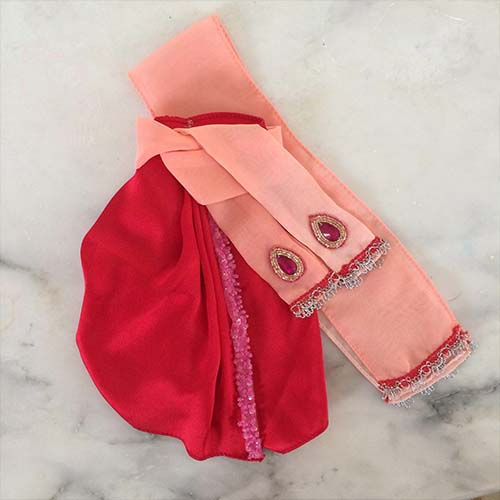

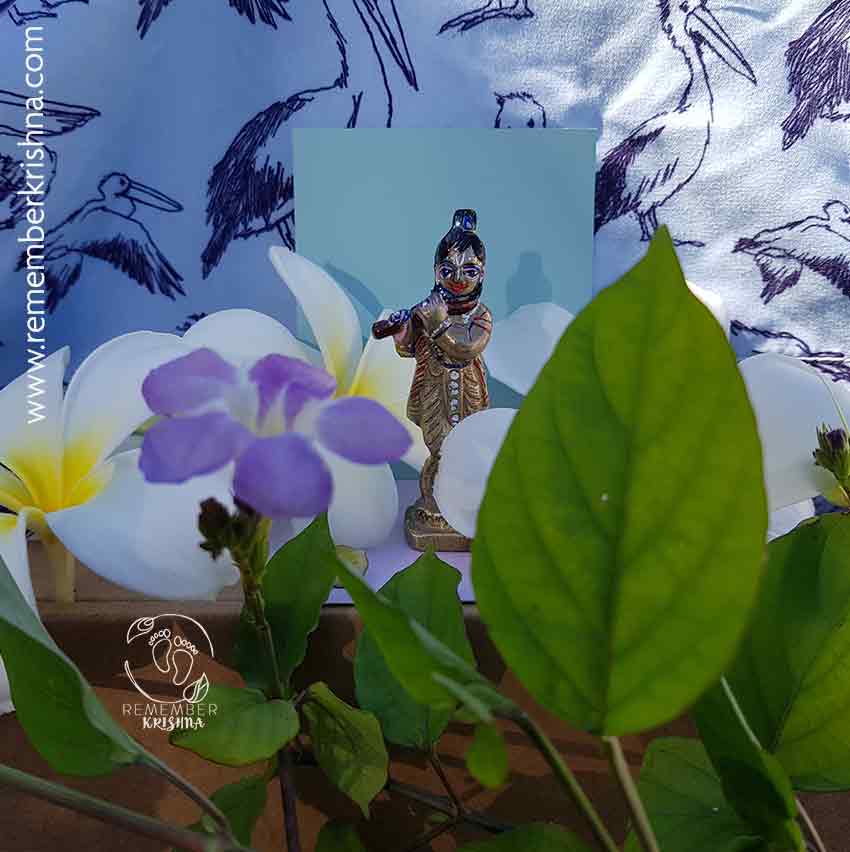
 Thankfully many people have enjoyed my Krishna art and of course I am thrilled to be able to sell my
  While I work on painting my Krishna dolls, I find it is conducive to listen to a lecture, so my ears are occupied in hearing while my hands are busy. This can be nice, but other great times are when family is gathered or friends are visiting – like someone who knits, always on your lap!